


Part I
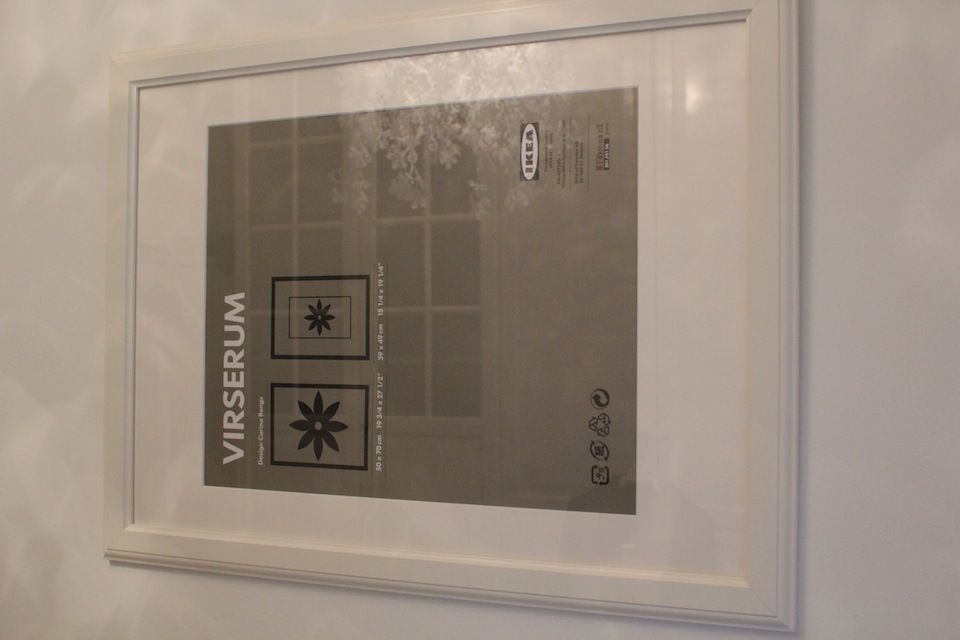
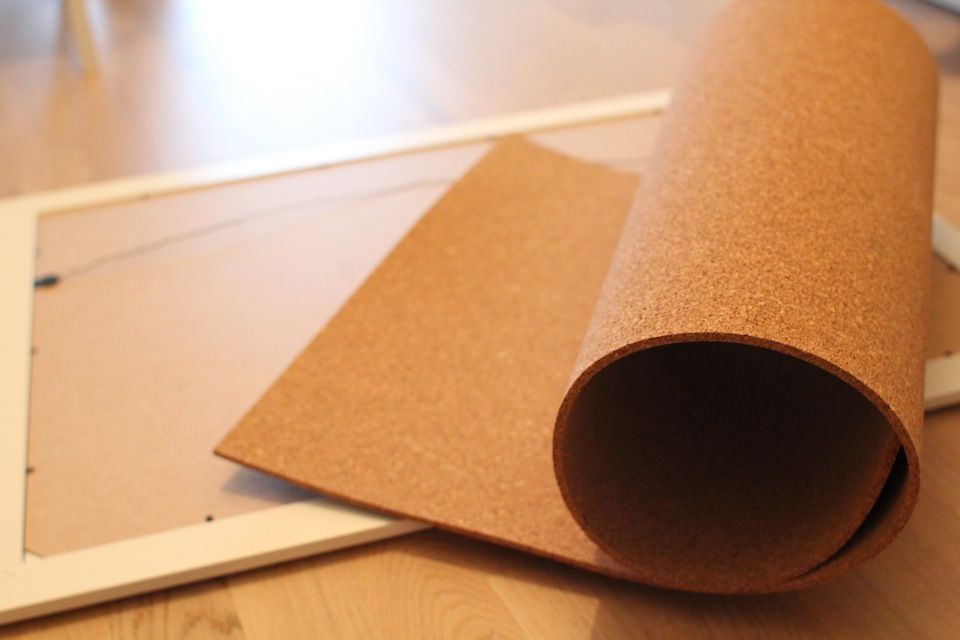


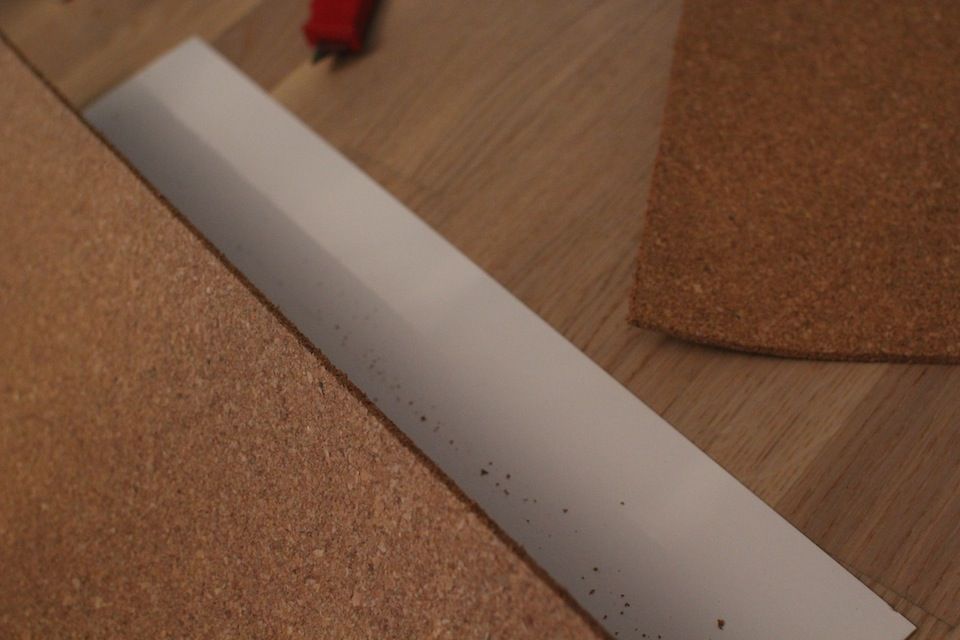
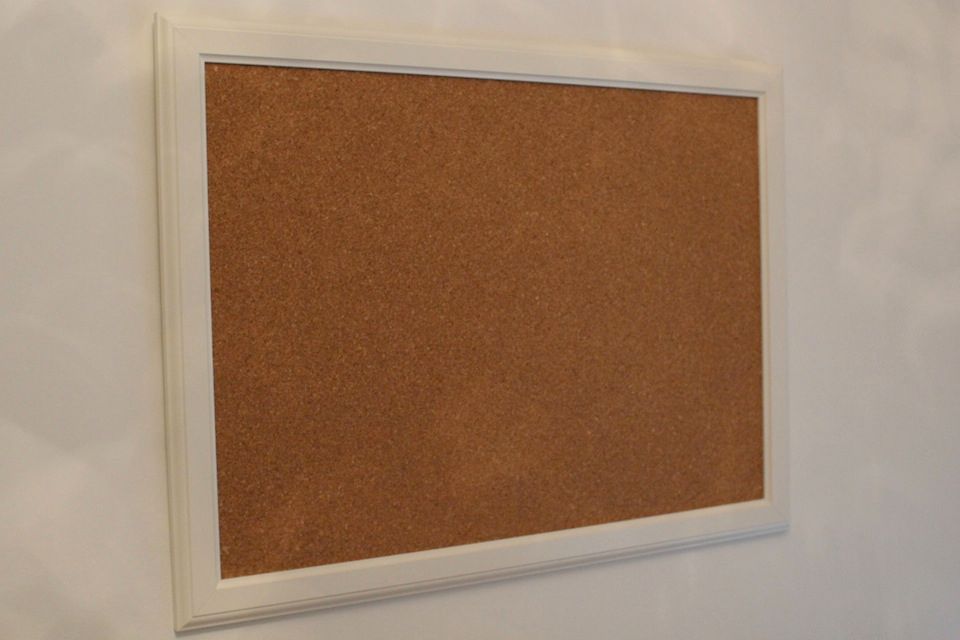
The first thing you need is a frame! You can pick the one you want, I decided to go for this one from Ikea. You will also need a cork that fits in the size of your frame. Mine was a little bit bigger, so I had to cut it (will definitely use the leftover part to make a small pinboard!). And finally, put the cork inside... and voila! Pretty easy! :)
Now comes...
Part II
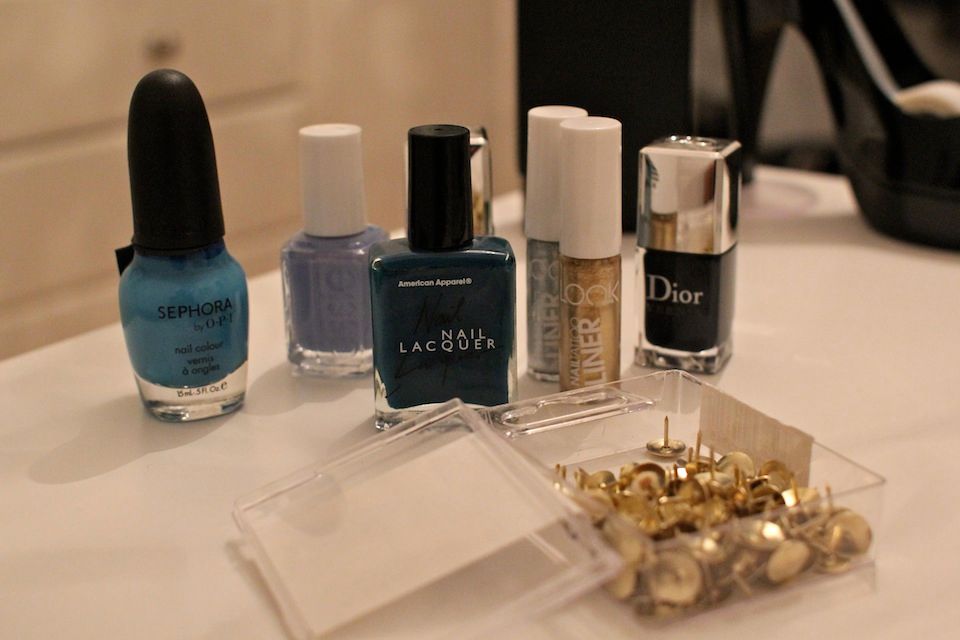
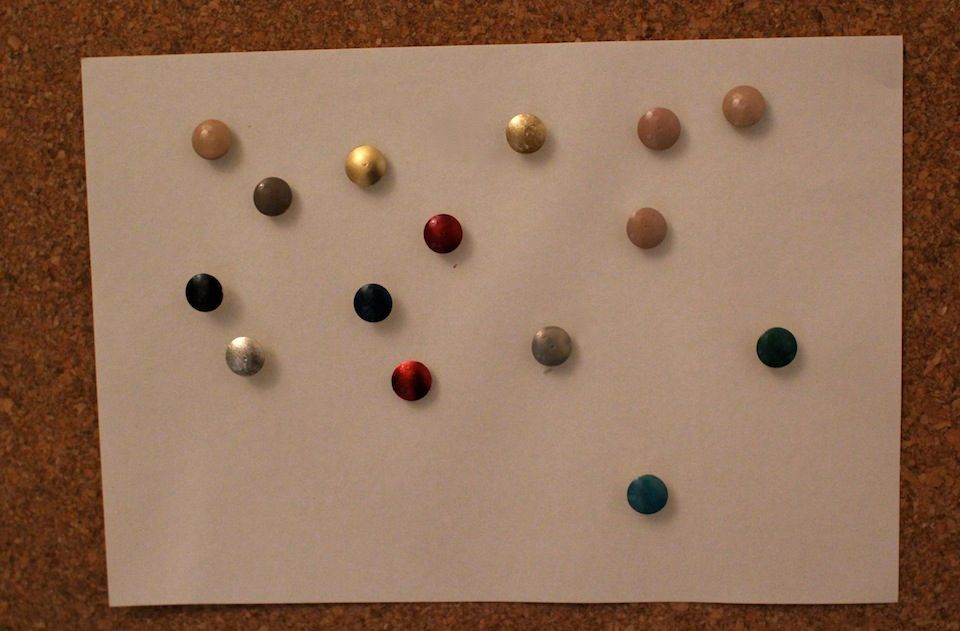
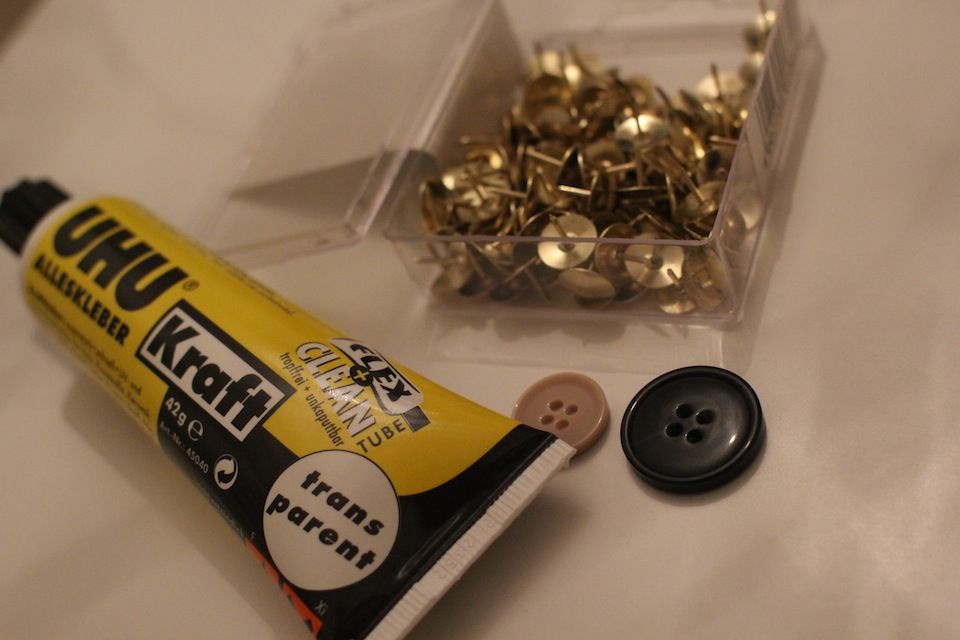
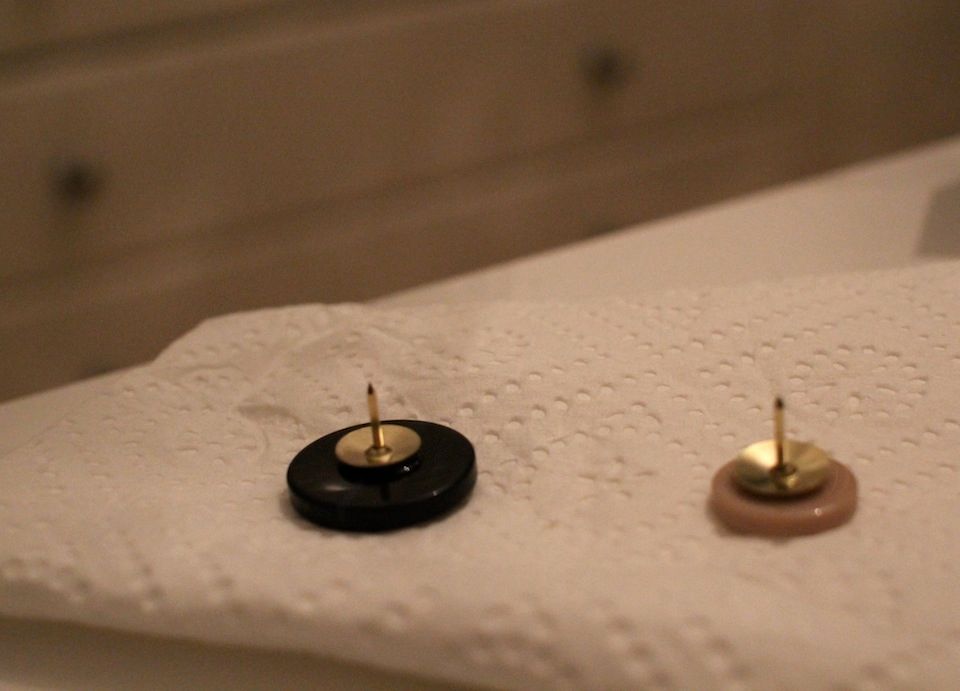
This is definitely my fave part! I tried my favorite shades on the pins until I found the option I love the most. At first I thought I would love the blue ones, but ended up going for the O.P.I Germany collection shades, the pastels tones go perfectly with the room and are really relaxing. And for the other pins, I used the extra buttons that normally come with the clothes, and glued them. These ended up looking beautiful! Now I need to find more buttons :)
Hope you like it!
xoxo!


Oh wow I love this! Definitely need to try this :)
ReplyDeleteMichelle xx
www.wh4reever.blogspot.com
Amazing DIY!! :)
ReplyDeletehttp://valentinamode.blogspot.com
It turned out great girl!! I love the cute pins! :)
ReplyDeletexo Andrea
Aaa, what a great idea. LOVE it!!
ReplyDeletewww.canyouimagine.eu
awesome and easy DIY
ReplyDeletewow I love this!!thanx for the idea!!
ReplyDeletepaolasophia.blogspot.it
Cool diy!
ReplyDeletex Denbelle
Loving this creative and fun idea! Really cute.
ReplyDeleteLovely idea, you did it very well! xo
ReplyDeletevery nice... love the idea with the buttons <3 <3 <3
ReplyDeletewhat a nice idea. i really like it. very creative!
ReplyDeletelovely greets
maren anita
FASHION-MEETS-ART by Maren Anita
great idea to make it :)
ReplyDeleteGiveaway Indressme – Win a $40 gift card
Loved what you did with the pins! Great idea!
ReplyDeleteGREAT IDEA BABY!!!
ReplyDeleteMaria Giovanna
My Glamour Attitude - Fashion Blog
Facebook
Twitter
What a cute idea!
ReplyDeleteWhat an awesome idea! It really is the perfect pinboard! Great work!
ReplyDeleteRebecca
www.winnipegstyle.ca
Such a great way to pin ideas!
ReplyDeleteEnter to win a $40 voucher to InDressMe!
Trendy Teal
lovely idea!!
ReplyDeletehttp://www.ohmydior.org/
Great DIY!! Love it!
ReplyDeletehttp://mentrend.blogspot.be/
what a great job!
ReplyDeleteTe ha quedado muy chulo!!!
ReplyDeletehttp://stylearua.blogspot.com.es
amazing DIY! thanks for posting this!
ReplyDeleteLA By Diana Live Magazine
Super love your DIY!!!
ReplyDeleteThanks for sharing!
xoxo
WOW, amazing porpuses, just love them!
ReplyDeletehope youll like my blog as i love your one! i wish ye could follow each other and stay in touch!
wish you the best and keep like this!
www.malesclutch.blogspot.com
Sergio,
Lovely, what a great idea and easy to do. Thank you.
ReplyDeleteDusana :-)
www.letnedni.com
You made it great. Have a nice day.
ReplyDeletehttp://www.fashiondenis.com/
wow great!!!
ReplyDeleteThe Fashion Heels
Facebook
Bloglovin
Twitter
So gorgeous, you did a great job :)
ReplyDeleteKisses!
That's a great idea.=)
ReplyDeleteIt's so amazing and perfect-y ;)
ReplyDeleteNoor @ Noor's Place
Join My Giveaway
wow, so creative and you are so talented!
ReplyDeletewonderful idea, I must try it!!
ReplyDeletePretty To Be Happy
I think I am gonna try it soon :)
ReplyDelete❤ StylishByNature.com
omg, this post is awesome! I love your blog dear <3
ReplyDeleteLove, Anna
www.fashionanna.com
omg, this post is awesome! I love your blog dear <3
ReplyDeleteLove, Anna
www.fashionanna.com
I need it for my office :)
ReplyDeletehttp://namelessfashionblog.blogspot.it/
http://www.facebook.com/NamelessFashionBlog
cool idea! have to try this :)
ReplyDeleteI feel like this is so much cuter than the ugly tack board I have in my office!
ReplyDelete-Nico
www.SatinAndsalt.com
amazing! *.*
ReplyDeletecoool idea!
ReplyDeleteYou always have great DIY! I love this one, it looks amazing:)
ReplyDeleteque buen proyecto...! muy util, yo quiero hacer uno pero la verdad no se donde colocarlo =/ sin embargo me urge para poner muchas cosas... haber si me animo =)
ReplyDeletebesos
www.petitgraphie.blogspot.com